
Operation Instructions
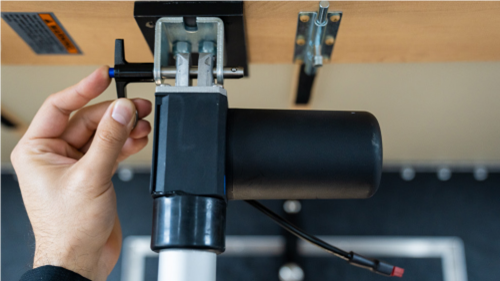
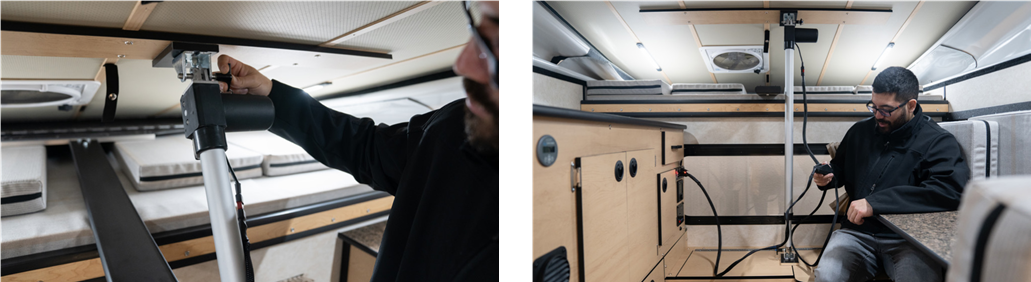
Step 1:
Secure the motor end of the Lift Actuator (a) to the Rear Pushboard Roof Mounting Plate (c) using 1 Push Pin (h) and let it hang down.
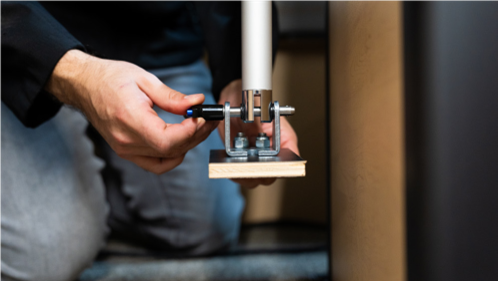
Step 2:
Attach the Floor Mounting Plate (e) to the hanging end of the Lift Actuator (a) using 1 Push Pin (h).
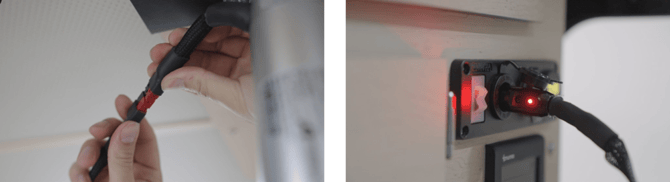
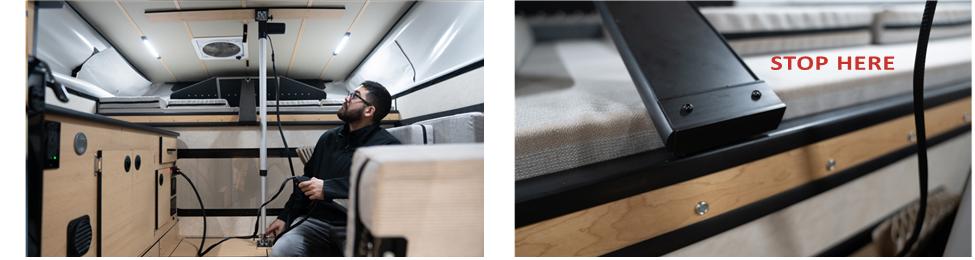
Step 3:
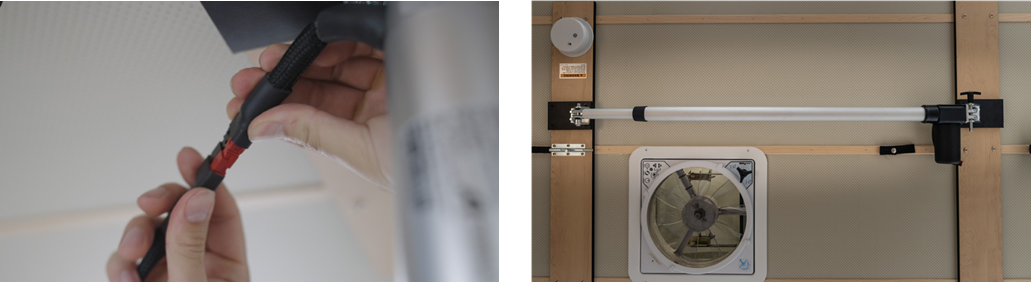
Connect the 12v Connection and Switch (b) to the Lift Actuator (a) and plug in to your campers 12v socket.
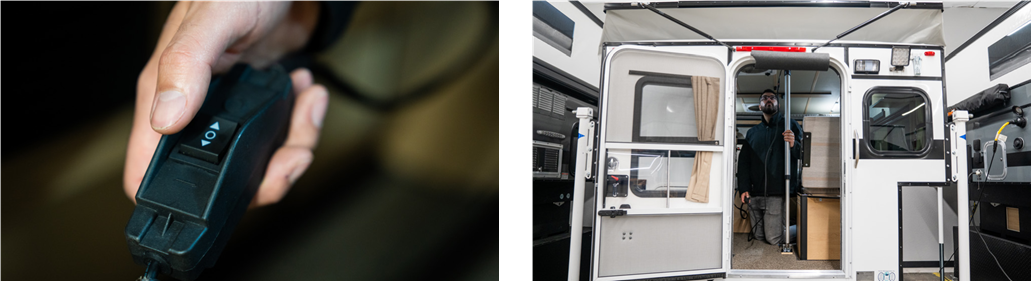
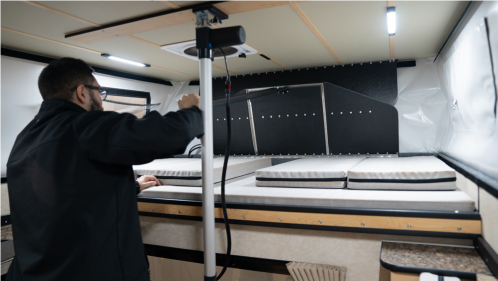
Step 4:
Press the down button on the 12v Connection and Switch (b) and watch your roof raise!
(DO NOT OVER EXTEND ACTUATOR OR ROOF DAMAGE MAY OCCUR)
Step 5:
When roof is nearly up, let go of the switch and finish popping your rear camper panel into place. Secure with strap and button.

Step 6:
Move and mount the Lift Actuator (a) to the Front Pushboard Roof Mounting Plate (d) and secure with 1 Push Pin (h). Raise the Actuator (a) until it sits on the cabinet hanging straight down.
Step 7:
Press the down button on the 12v Connection and Switch (b) and watch your roof raise!
(DO NOT EXTEND TO FULL ROOF LIFT OR ROOF DAMAGE MAY OCCUR)
Step 8:
When roof is nearly up, let go of the switch and finish popping the front camper panel into place. Secure with strap and button.
Step 9:
Unplug the Lift Actuator (a) and stow on your roof by placing in each Mounting Plate (c,d) using 2 Push Pins (h).
Actuators are not meant to lower camper roof, they may fail if used in this way.